How to size an image to fit inside a bottle cap necklace
 One of the most popular crafts as of late has been bottle cap necklaces. We see them, we love them, and most likely, you have probably made them. But have you ever wanted to put your own pictures in your necklace, like your kids or your family? Well after lots of research and experimenting, I have finally figured out that magic formula to make your own bottle cap necklace pictures.
To do this tutorial, you will need Microsoft Powerpoint ( I have the 2010 version)
Step 1: Insert your photo into Powerpoint
One of the most popular crafts as of late has been bottle cap necklaces. We see them, we love them, and most likely, you have probably made them. But have you ever wanted to put your own pictures in your necklace, like your kids or your family? Well after lots of research and experimenting, I have finally figured out that magic formula to make your own bottle cap necklace pictures.
To do this tutorial, you will need Microsoft Powerpoint ( I have the 2010 version)
Step 1: Insert your photo into Powerpoint
Step 2: Double click your photo to open the Picture Tools- Format tab. Click the Crop Tool down arrow.
Step 3: Once you have clicked the down arrow, go to Aspect Ratio. Underneath the square option, click 1:1
Step 4: Drag the crop square until it is in the desired place. Once you are satisfied the the placement, push the crop button.
Step 5: Once your photo is cropped to a square shape, click the down arrow on the crop button. Go to the Crop to Shape option, and choose the Oval shape underneath the Basic Shapes tab.
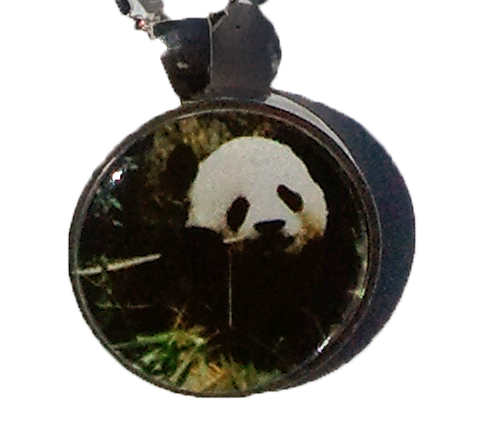
Your picture should now be in the shape of a circle
Step 6: Go the Height and Width in the size box. Change the measurement to 1 inch x 1 inch
Now your photo is ready to print! This will fit in crafting bottle caps, and 1 inch pendants.
If you want a tutorial on how to make bottle cap necklaces, visit my Pressed leaf necklace Youtube video. (if you don't want to learn how to make a pressed leaf necklace, skip forward to 6:45)


No comments:
Post a Comment